Eat!

Eating is a necessity. However, we choose what to eat. The choices we make reveal a great deal about us. The food you eat can tell quite a bit about your heritage, your family, your fears, your sense of adventure, your attitude toward yourself and others, and a myriad of other personal tidbits to anyone paying attention. Everything about eating is a glimpse into your soul.

I hope to reveal a little bit about myself to you through my food. I enjoy cooking. I enjoy eating. I find pleasure in bringing pleasure to others. I hope that by sharing my recipes I bring you a little bit of joy.

Cook my food. Feed it to the people you love.

Wednesday, October 24, 2012

Thai Curry Butternut Squash Soup

I was inspired to make this soup by my cousin, Nicole, and the abundance of fall gourds available at the grocer’s.  The soup is so fragrant, warm, and velvety good that it will definitely be added to my regular rotation.

Servings: 6-8
Time:    Prep: 10 minutes; Cook: 15-20 minutes
Hardware:  Measuring spoons and cups, a cutting board and knives, a big knife, a microwave safe plate, a large spoon, large soup pot, an immersion blender (or blender, or food processor), a can opener, a wooden spoon, a ladle, serving bowls


Ingredients:
  • 1 butternut squash (1½ -2 pounds)
  • 6 cups vegetable broth
  • 5-6 large basil leaves
  • 1 tablespoon grated ginger
  • 2 teaspoons onion powder
  • 1 teaspoon of salt
  • 1 tablespoon yellow curry paste
  • 1-14 oz can coconut milk
  • 2 tablespoons of butter
  • Garnish with cream and crystallized ginger 
  1. Cut the squash in half with the large knife.  Scoop out the seeds and stringy stuff.  Put the squash, cut side down, on the microwave safe plate and zap for 10 minutes or until the squash is soft.
  2. While the squash is cooking, put the broth, basil leaves, ginger, onion powder, and salt on to boil.
  3. When the squash is cool enough to touch, use the large spoon to scoop out the soft flesh and add it to the boiling broth.  Boil until the squash is completely soft.  Stir in the curry paste.  Turn off the heat.  Fish the basil leaves from the soup.  Use the immersion blender to completely purée the squash and ginger.
  4. Stir in the coconut milk and butter.
  5. To serve, ladle a serving into each bowl, top with a swirl of cream and a few pieces of chopped crystallized ginger.

Sunday, October 14, 2012

Sweet and Spicy Teriyaki Wings

These wings are sweet and hot and a fun alternative to buffalo wings.  They are perfect for tailgating.

Servings:  Dozen wings
Hardware:  Kitchen scissors, measuring spoons and cups, a mixing bowl, tongs, a baking sheet, a cooling rack (or foil), a sauce pot, wooden spoon
Time: Prep-10 minutes, Cook-50 minutes


Ingredients
  • 12 wings
  • ½ stick of butter, softened
  • 3 tablespoons Dijon mustard
  • 2 tablespoons powdered garlic
  • ½ tablespoon powdered ginger
  • ½ teaspoon allspice
  • 1 teaspoon salt
  • pinch of cayenne pepper
  • 1 ½ tablespoon sesame oil
  • 1 ½ cups teriyaki sauce (you can make your own)
  • ⅓ cup honey
  • 1 ½ tablespoons hot sauce (you can use your favorite hot sauce, I use Sriracha for this)
  • cooking spray

  1. Preheat the oven to 400°
  2. Use the kitchen scissors to separate the flaps from the drummettes.  Also snip the points from the flaps.
  3. Place the cooling rack over the baking sheet.  If you don’t have a cooling rack, just line the baking dish with foil.  Spray liberally with cooking spray.
  4. Mix the mustard, garlic, ginger, allspice, salt, pepper, and sesame oil together in the mixing bowl.
  5. Rub the wings completely with the softened butter.  Then toss them in the mixture.
  6. Lay the wings in a single layer on the cooling rack.  Place the wings in the oven.  Cook for 20 minutes. Flip and roast for 20 more. If you prefer crispier wings turn the broiler on for 5 minutes or so. Make sure to monitor them so they don't burn. Turn the oven off and leave in the warm oven for 10 minutes.
  7. While the chicken is cooking, place the teriyaki sauce, honey, and hot sauce in the sauce pot.  Heat on medium high, stirring until the honey is completely melted.
  8. Remove the wings from the oven and toss in the teriyaki sauce.
  9. Serve warm or at room temp.
3. The cooling rack acts as a roaster. 
I line the pan with parchment paper
for easy clean-up.


Hot Garlic Wings

FOOTBALL!  My husband, Jeff, loves football.  If a game is on TV, I cannot get him to come to the table.  It is easier to make something he can eat without looking away.  These wings are delicious, much better than the stuff you pick up at the grocer’s.  They are also fun to take to a tailgate or a watching party.


Servings:  Dozen wings
Hardware:  Kitchen scissors, 2 large plastic Ziploc bags, 2 plates, plastic wrap, measuring cups and spoons, a large heavy skillet with a lid (I use cast iron), thermometer, tongs, paper towels, a sauce pot, a garlic press
Time: Prep-15 minutes, Rest time: 30 minutes, Cook-15 minutes
(Start cooking about 2 hours before you want to serve the wings)

Ingredients
  • 1 dozen wings
  • 2 cups all-purpose flour
  • 2 tablespoons cornstarch
  • 1 teaspoon salt
  • ½ teaspoon garlic powder
  • ½ teaspoon ground black pepper
  • 2 eggs
  • ½ cup milk
  • 2 cups vegetable oil for frying
  • ½ stick of butter
  • 2 cups hot wing sauce
  • 3 cloves of garlic
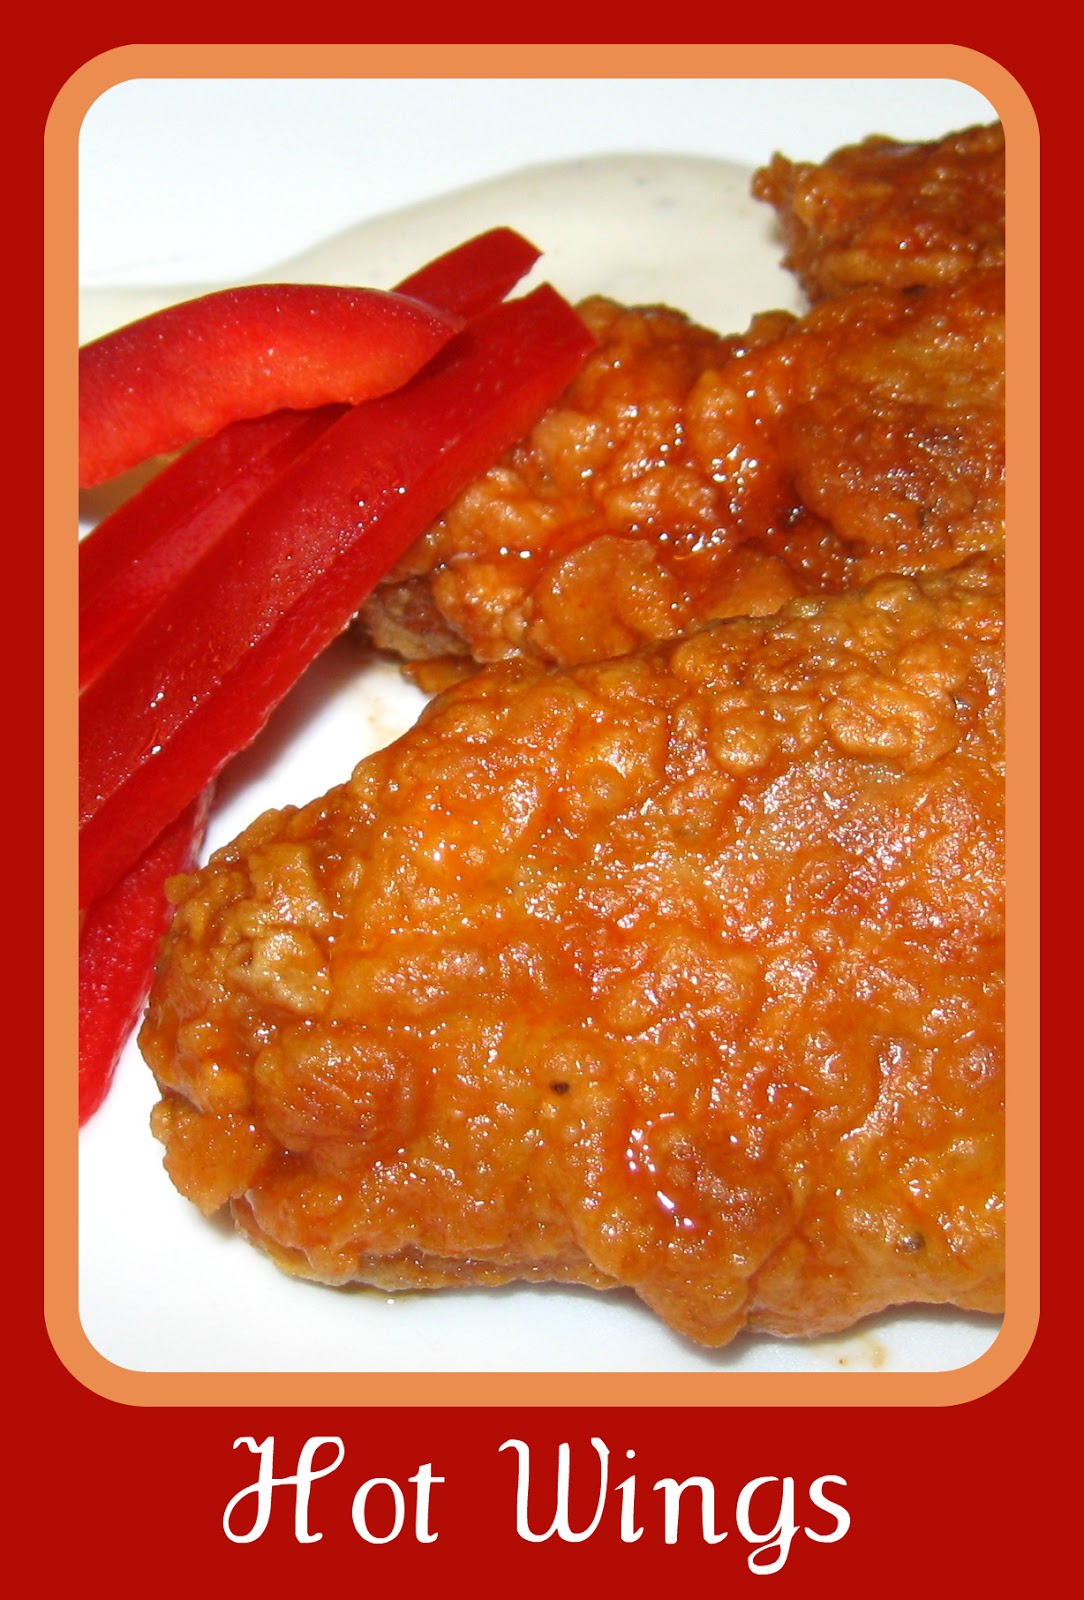
  • Sliced red peppers, celery sticks, ranch dressing, blue cheese dressing.

  1. Use the kitchen scissors to separate the flaps from the drummettes.  Also snip the points from the flaps.
  2. Mix the flour, cornstarch, salt, garlic powder, and pepper in a Ziploc bag.  Shake up.
  3. Put the eggs and milk in the other Ziploc bag.  Shake like crazy.  Make sure the eggs are completely mixed.
  4. Put the chicken in the flour.  Shake up. Then put the chicken in the egg mixture.  Then back into the flour mixture.  You can repeat this process if you like more breading.
  5. Put the chicken on a plate and cover in plastic wrap.  Put in the fridge for 30 minutes.  This will help the batter adhere to the chicken.  You can leave the chicken in the fridge for up to three hours.  Remove the plate from the fridge about ½ hour before cooking to allow the chicken to warm up.  This will allow the wings to cook evenly.
  6. Cover the other plate with paper towels. Set aside.
  7. Put enough oil in the pan to fill it about half way up.  Pre-heat the oil until it is 350°.  This step is very important to keep the chicken from absorbing too much oil and becoming greasy.  You will want to adjust the temperature while cooking so the oil stays between 300° to 400°.   
  8. Place the wings in a single layer in the hot oil.  Do not crowd the chicken.  You may need to cook in batches. Cover the chicken and do not turn for at least 5 minutes.
  9. Turn the chicken and cook until it is a crispy golden brown.  The drummettes take longer than the flaps.  To make sure your chicken is done, cut into the thickest part of a drummette, the juices that run out should be clear and the meat should be completely opaque and have no hint of pink.
  10. As the chicken finishes, place it on the paper towel covered plate to drain.  
  11. While the wings are cooking place the wing sauce, butter, and crushed garlic in the sauce pot on medium high.  Stir until the butter is melted.  Turn off the heat.
  12. When all the wings are finished, toss them in the sauce.  Make sure they are all coated.  You can let them sit in the sauce for a minute or two.
  13. To serve, remove them from the sauce.  Serve them with sliced red peppers, celery sticks, and ranch and/or blue cheese dressing.  And lots of napkins.

Sunday, October 7, 2012

Mexican Lasagna

This is very easy and very tasty.  It can be made one day ahead then baked the next day.  It also tastes just as good as leftovers!

Servings: 6-8
Time:  Prep:  15 minutes    Cooking: 35 minutes
Hardware: Measuring cups and spoons, a cutting board and knives, a can opener, a skillet, a wooden spoon, a microwave safe bowl, kitchen scissors, a loaf pan, a spatula

Ingredients:
  • ¼ cup diced onion
  • ¼ cup diced bell pepper
  • 1 pound ground beef
  • 1 tablespoon taco seasoning (You can make your own)
  • ½ cup of your favorite chunky salsa (I like Desert Pepper Trading Company)
  • 1 can condensed Fiesta cheese soup
  • 1 can of refried beans
  • 3 cups of shredded cheddar cheese
  • 3-4 10 inch flour tortilla
  • Cooking spray
  • Salsa, sour cream, and green onions for garnish

  1. Preheat the oven to 350°.
  2. Open the cans.  Set aside.
  3. Wash and dice the onion and green pepper.
  4. Heat the skillet on medium high. Add the veggies, seasoning, and ground beef.  Cook and crumble the ground beef until the meat is brown and cooked through (7-10 minutes). Drain the fat from the beef.
  5. Return the meat mixture to the medium pan.  Stir in the salsa and cheese soup.  Stir until everything is completely combined and heated through.  Remove from the heat.
  6. Put the beans in the microwave safe bowl and heat for 1-2 minutes, or until heated.
  7. Spray the loaf pan with cooking spray.
  8. Using the kitchen scissors, slice a tortilla shell to fit in the bottom of the pan.  You may need to arrange pieces from more than one slice to cover the bottom of the pan.  You may overlap the tortillas.
  9. Spread ⅓ of the beans over the tortilla shells with the spatula.  Cover the beans in 1 cup of the meat mixture and one cup of the cheese.  Cut another tortilla to cover the cheese mixture.  Press down firmly on the tortillas to compact the lasagna.  Continue layering in this manner, pressing down on the tortillas each time.  Finish with cheese.
  10. Bake for 25 minutes or until the cheese is bubbling and beginning to brown. Remove from the oven and allow the lasagna to sit for 10 minutes before slicing.
  11. While the lasagna is cooling, slice the green onions.
  12. To serve, spread salsa on the plate.  Lay a slice of lasagna on the salsa, top with a dollop of sour cream, and sprinkle with green onions.